# Sending login notifications to users using Auth0 Actions
You can never be too sure about your security on the internet. The good news is that most companies are becoming proactive in preventing hacking attempts on users by notifying them about suspicious login activity. Some banks even go as far as informing users about every login attempt, and I like it.
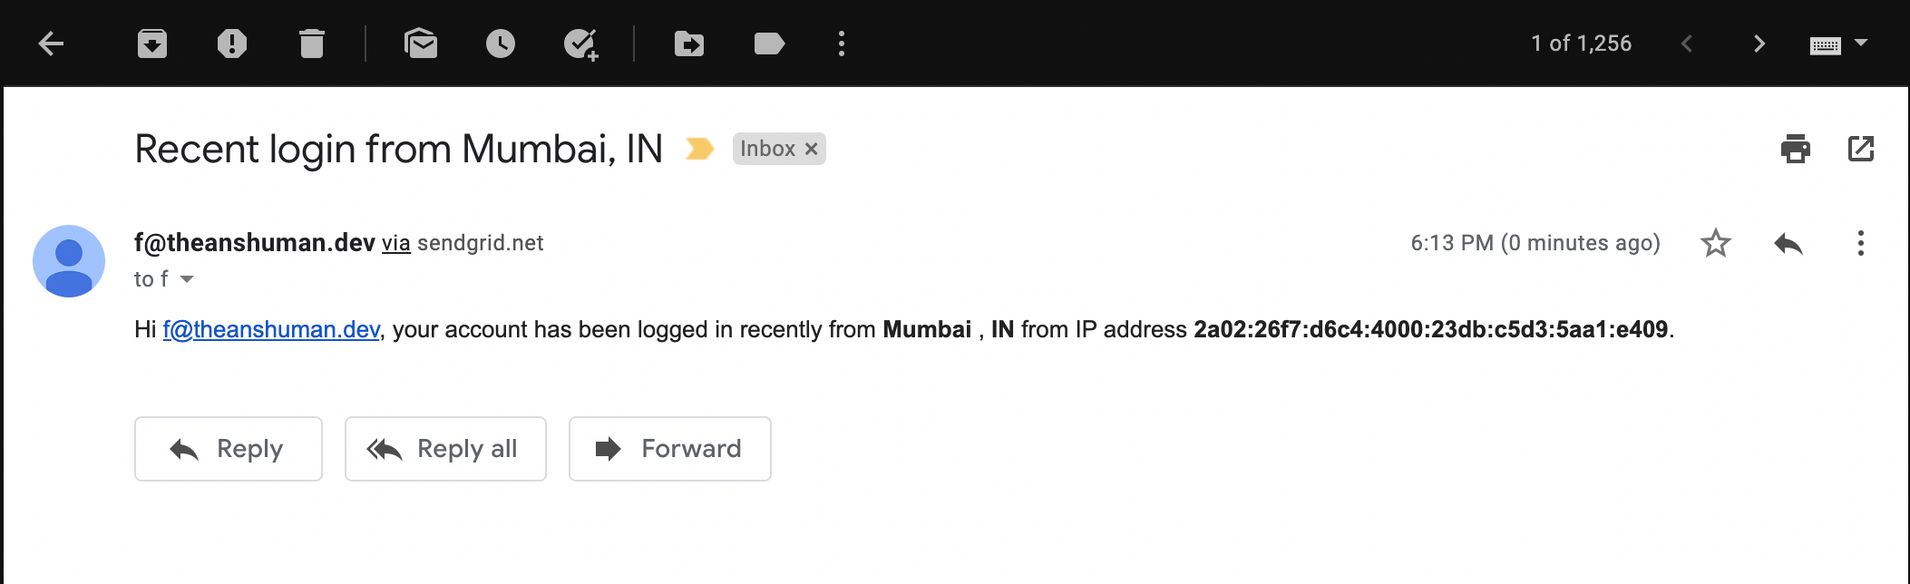
At this point, most users have gotten at least one email from services like Gmail or Twitter telling them about a login activity on their account, something like the image below.
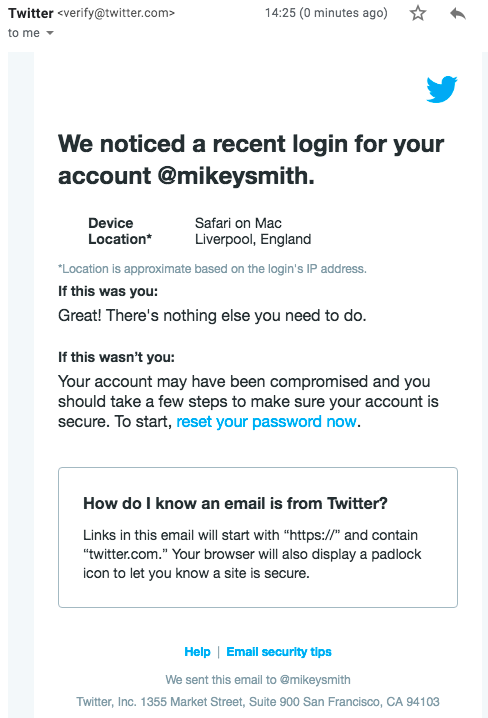
In this article, you'll learn how to set up something similar for your application using [Auth0 Actions](https://auth0.com/blog/introducing-auth0-actions/). Auth0 Actions are JavaScript functions that you can plug in at different stages of the authentication flow, such as user sign-up, login, and reset password to extend the default functionality. Auth0 Actions allow you to use third-party libraries and store secrets to use within your code.
You might have guessed already where I'm going with this but let me paint a picture for you (*literally*). The Auth0 Action will execute after the login is initiated and send an email just before finishing up the login flow, as shown below.
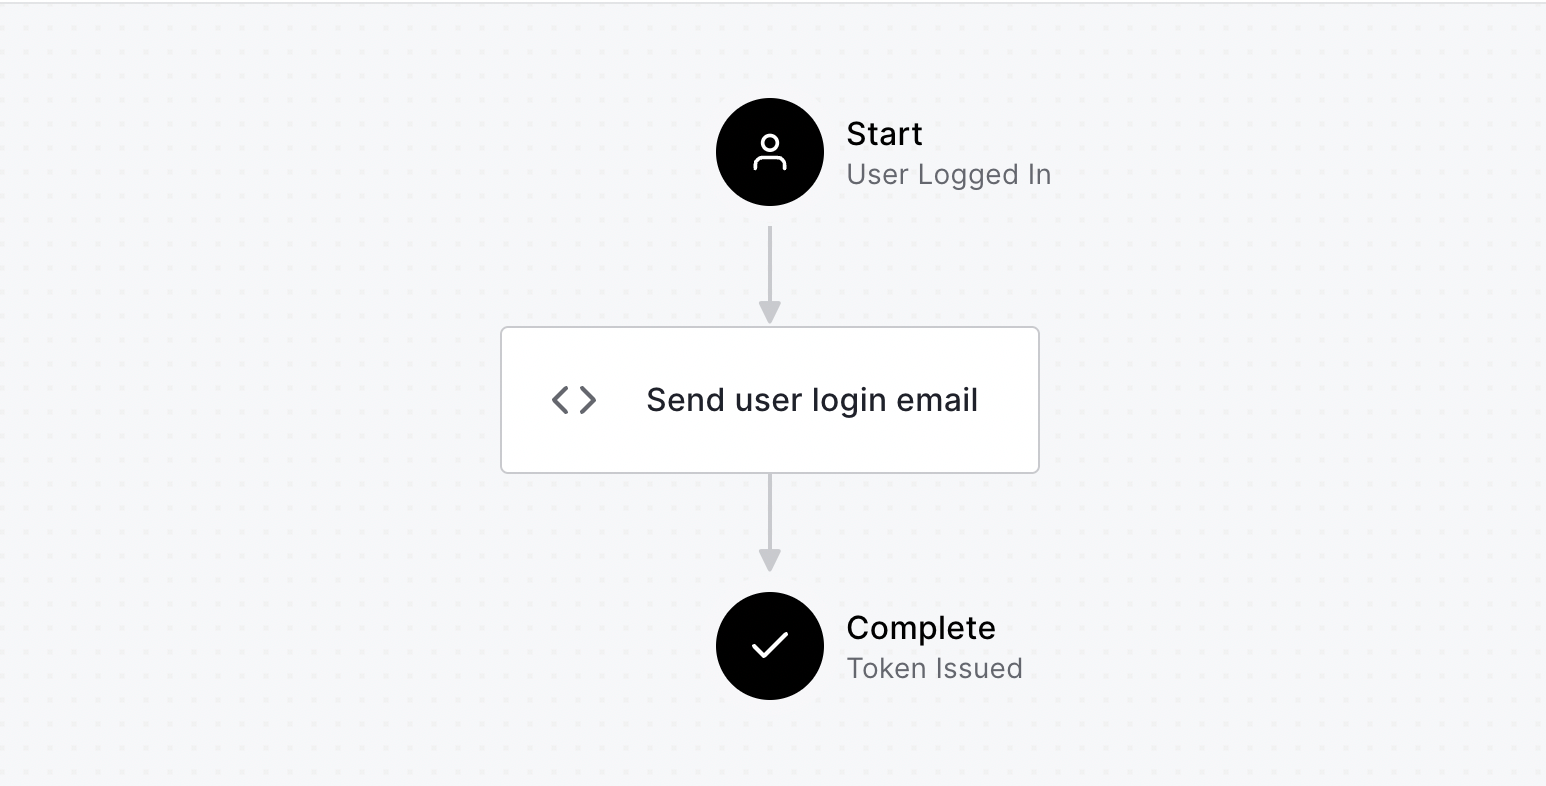
In this example, the action will notify the user with an email, but you can also do an SMS or anything—the sky is the limit, my friend.
## Prerequisite
To follow along with this example, you need an Auth0 account. You can [sign up for a free one](https://a0.to/signup-for-auth0) if you haven't got one. You'll also need an email sending service such as [Sendgrid](https://sendgrid.com/) to send an email.
## Set up Auth0 Action
To set up an action,
1. Open your Auth0 dashboard
2. Select the **Actions > Flows** option in the left navigation bar and click on **Build Custom**
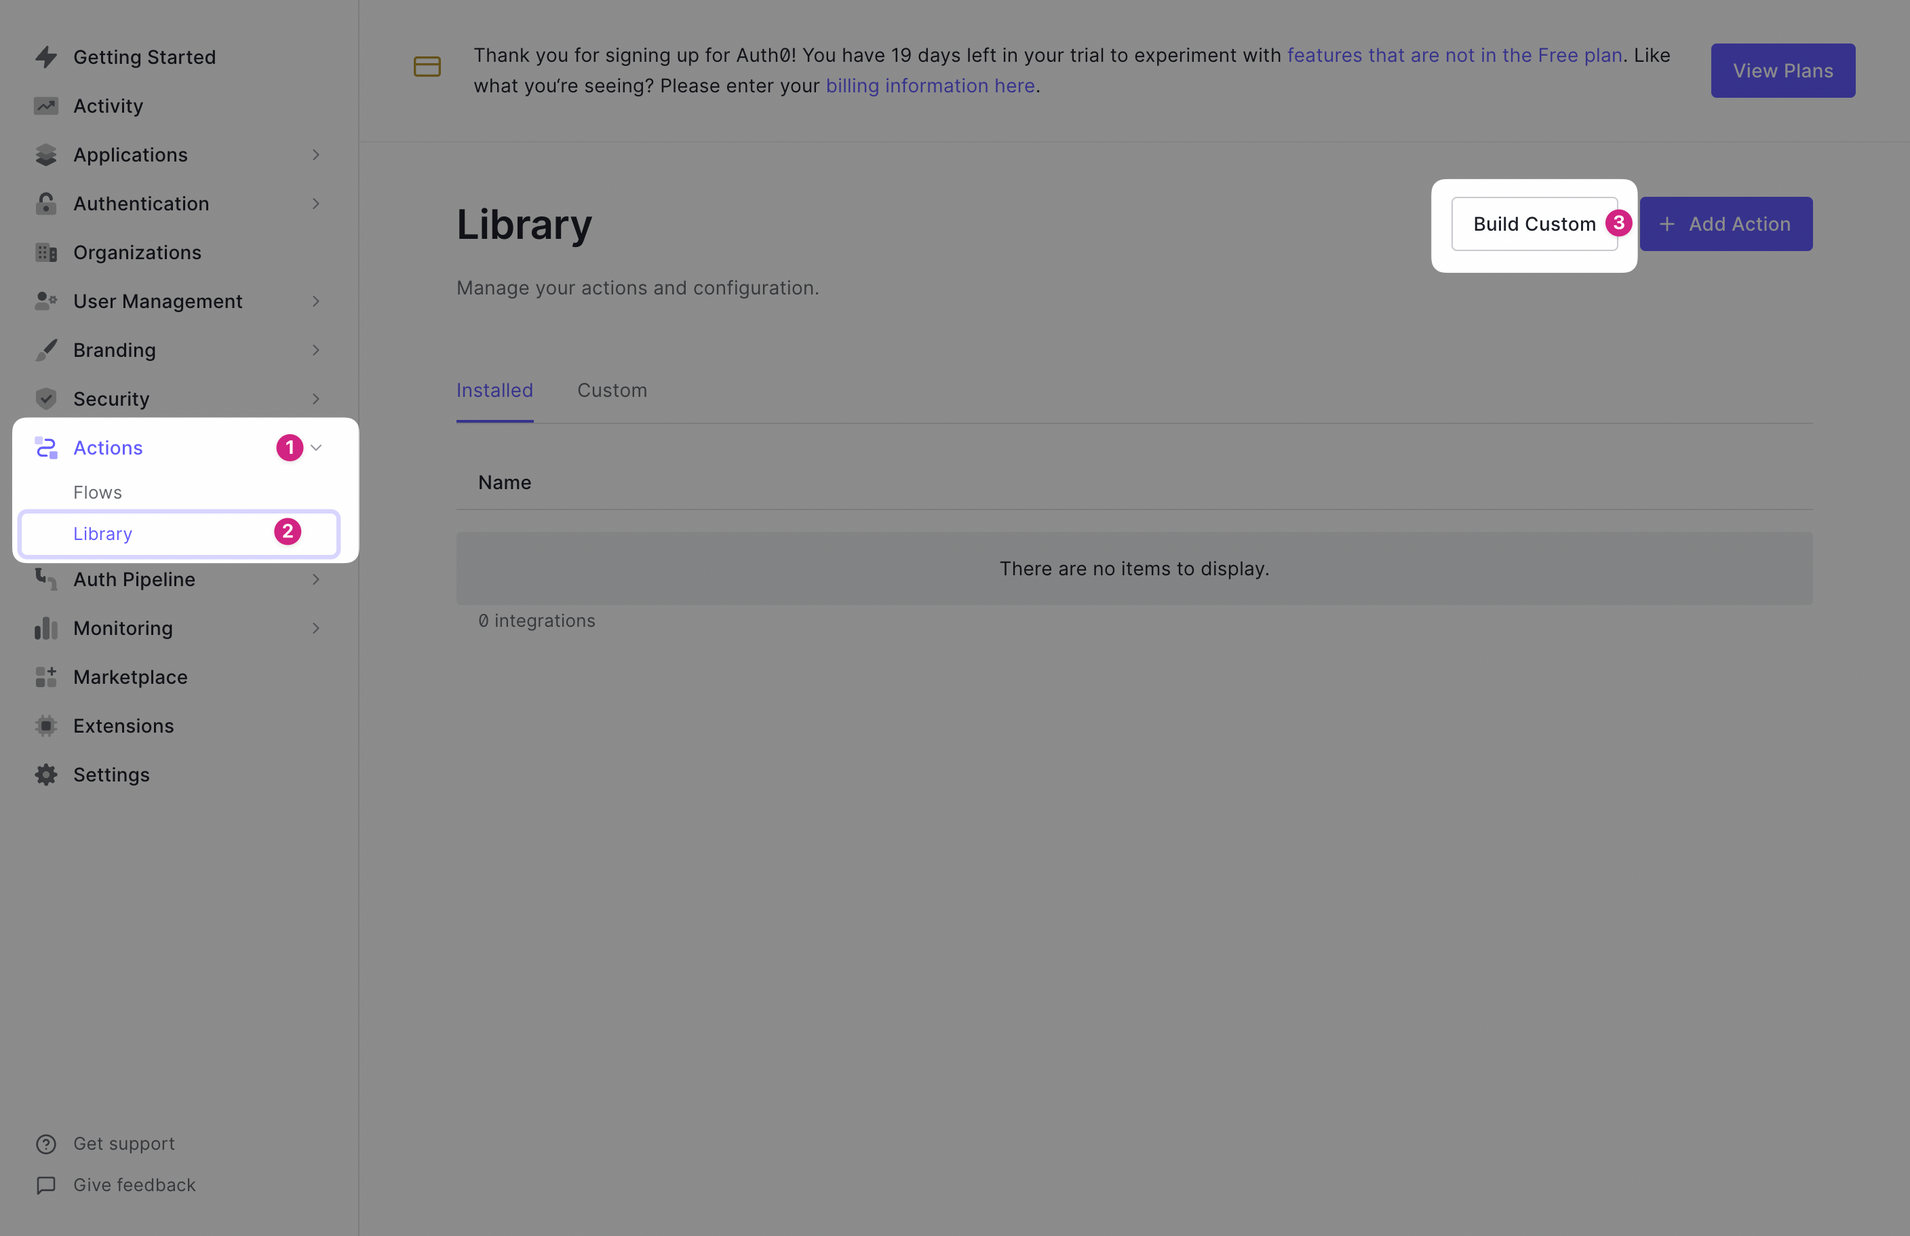
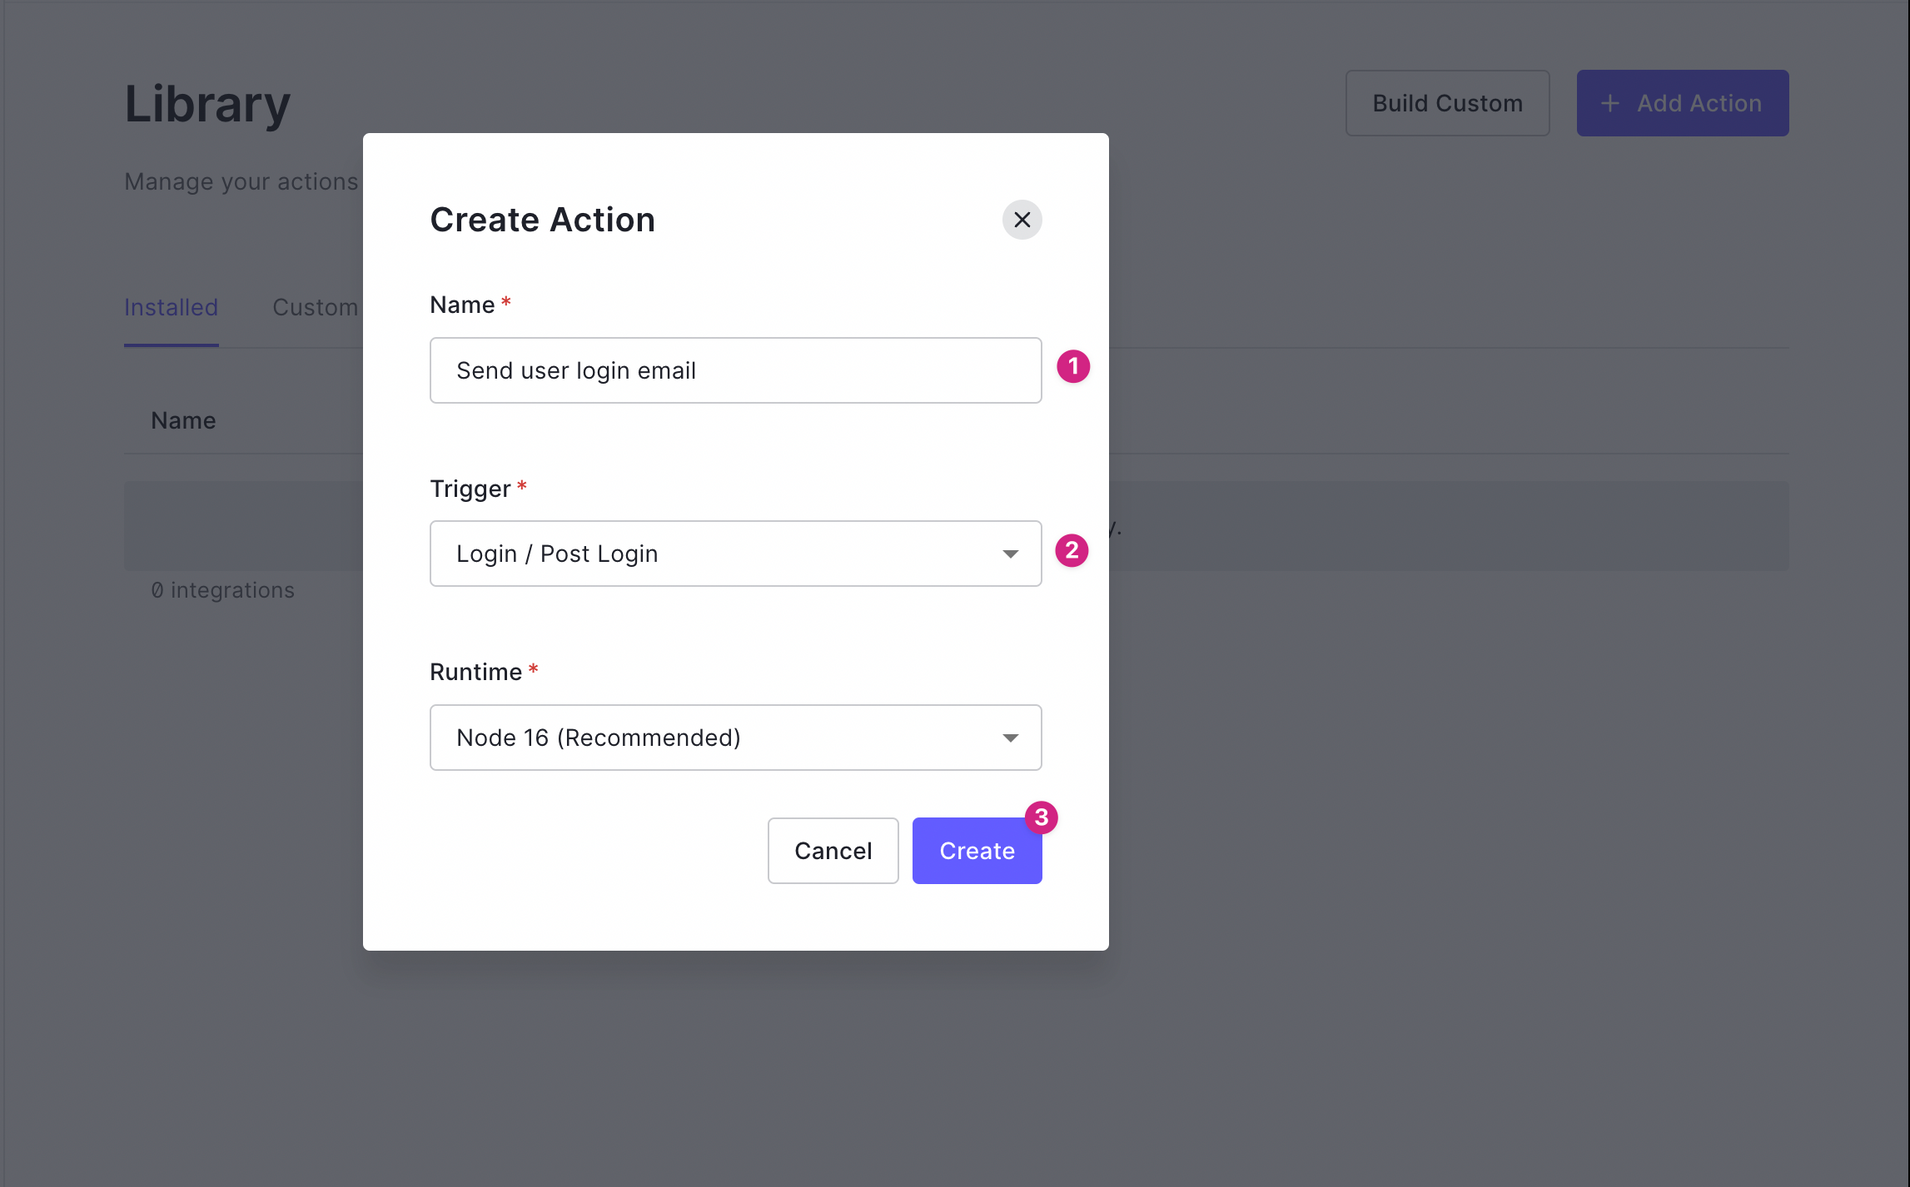
3. Fill out the Create Action ****form as shown below and click on the **Create** button
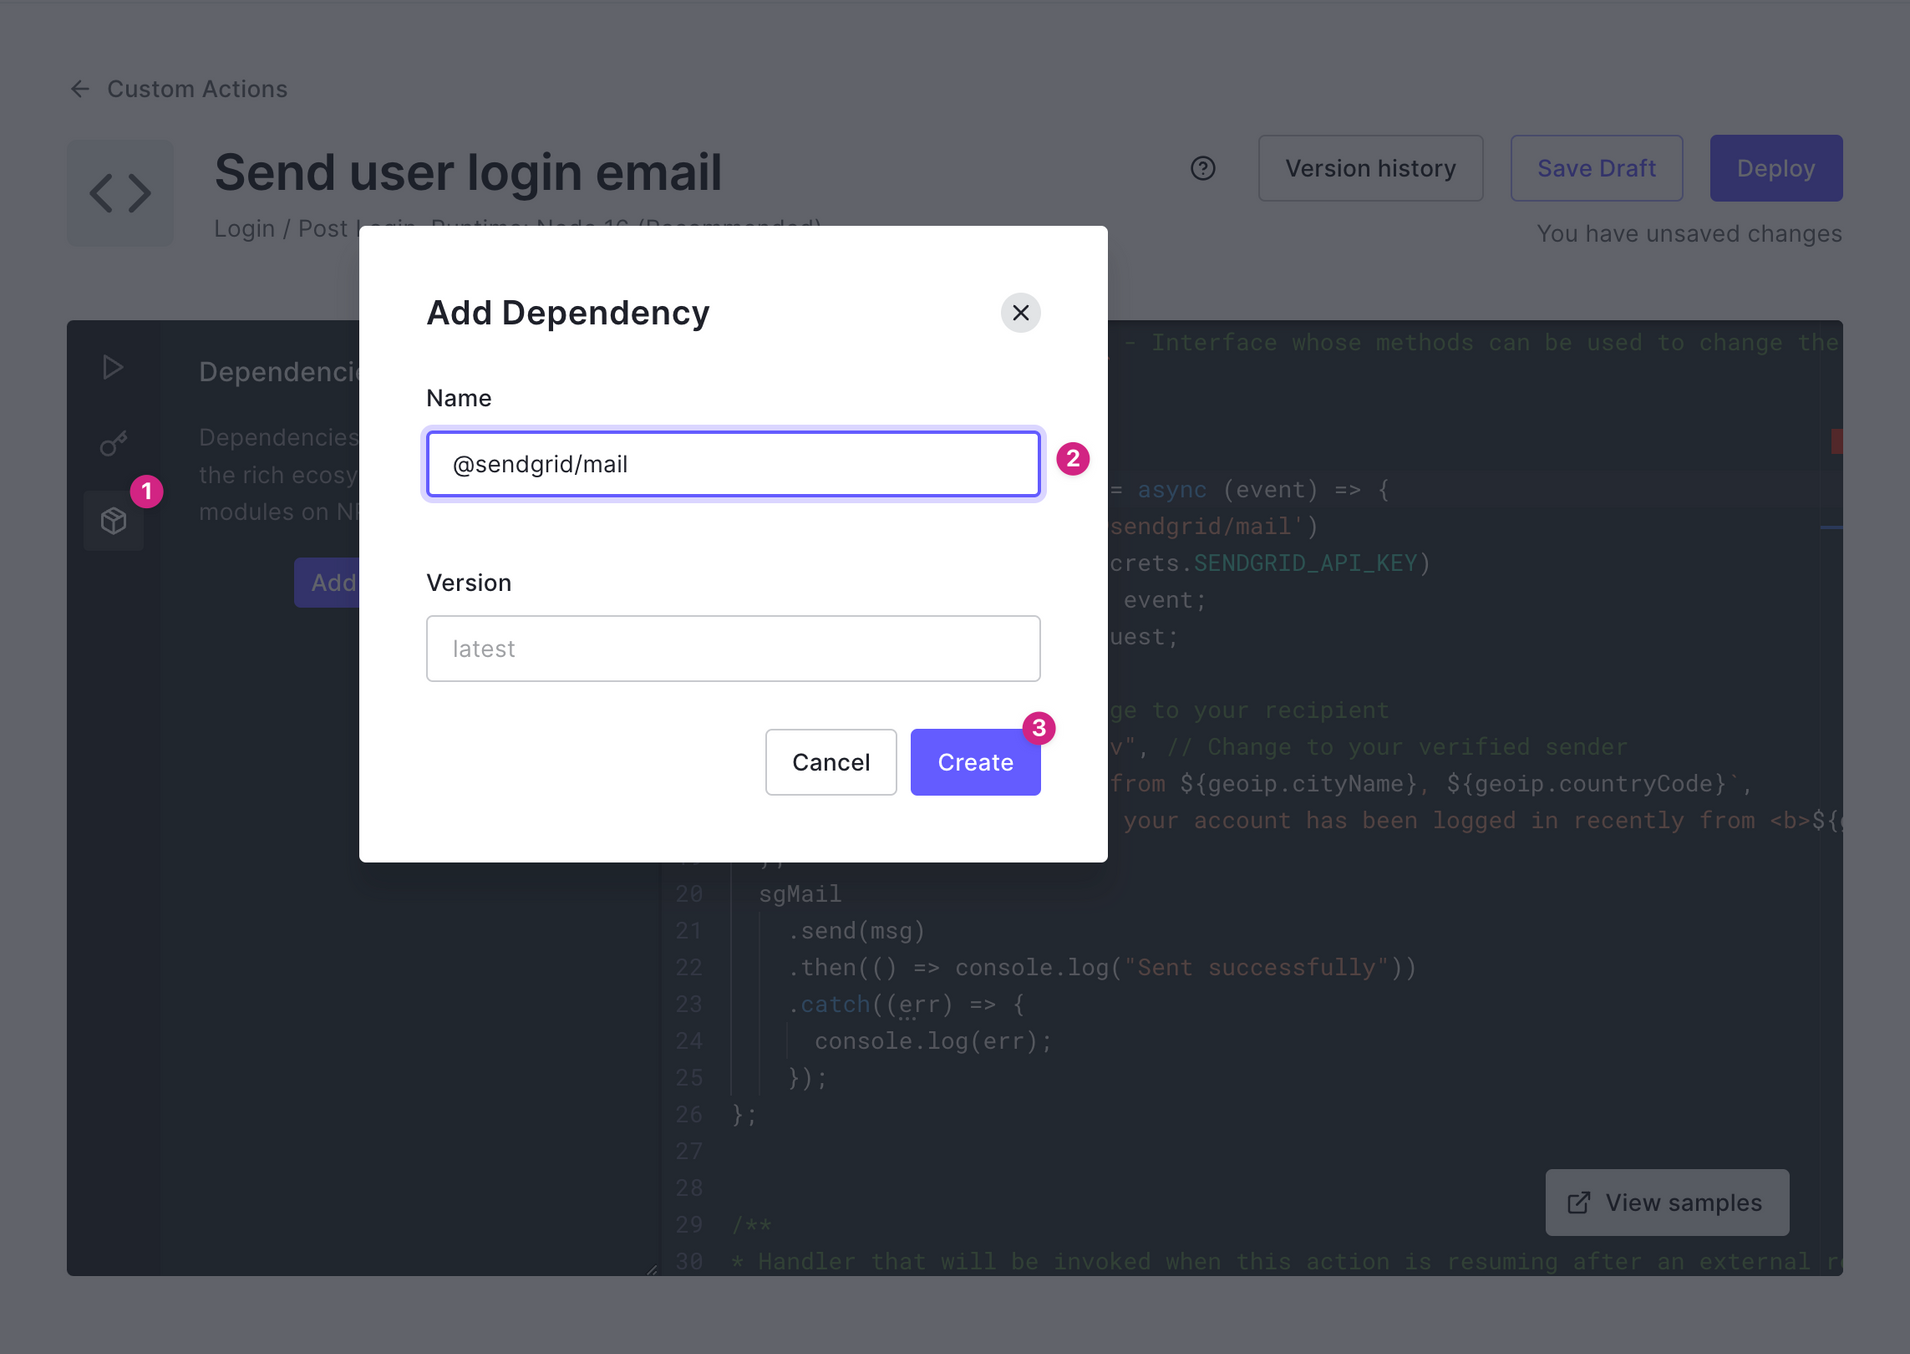
4. Add the `@sendgrid/mail` npm package to the dependency section of the editor.
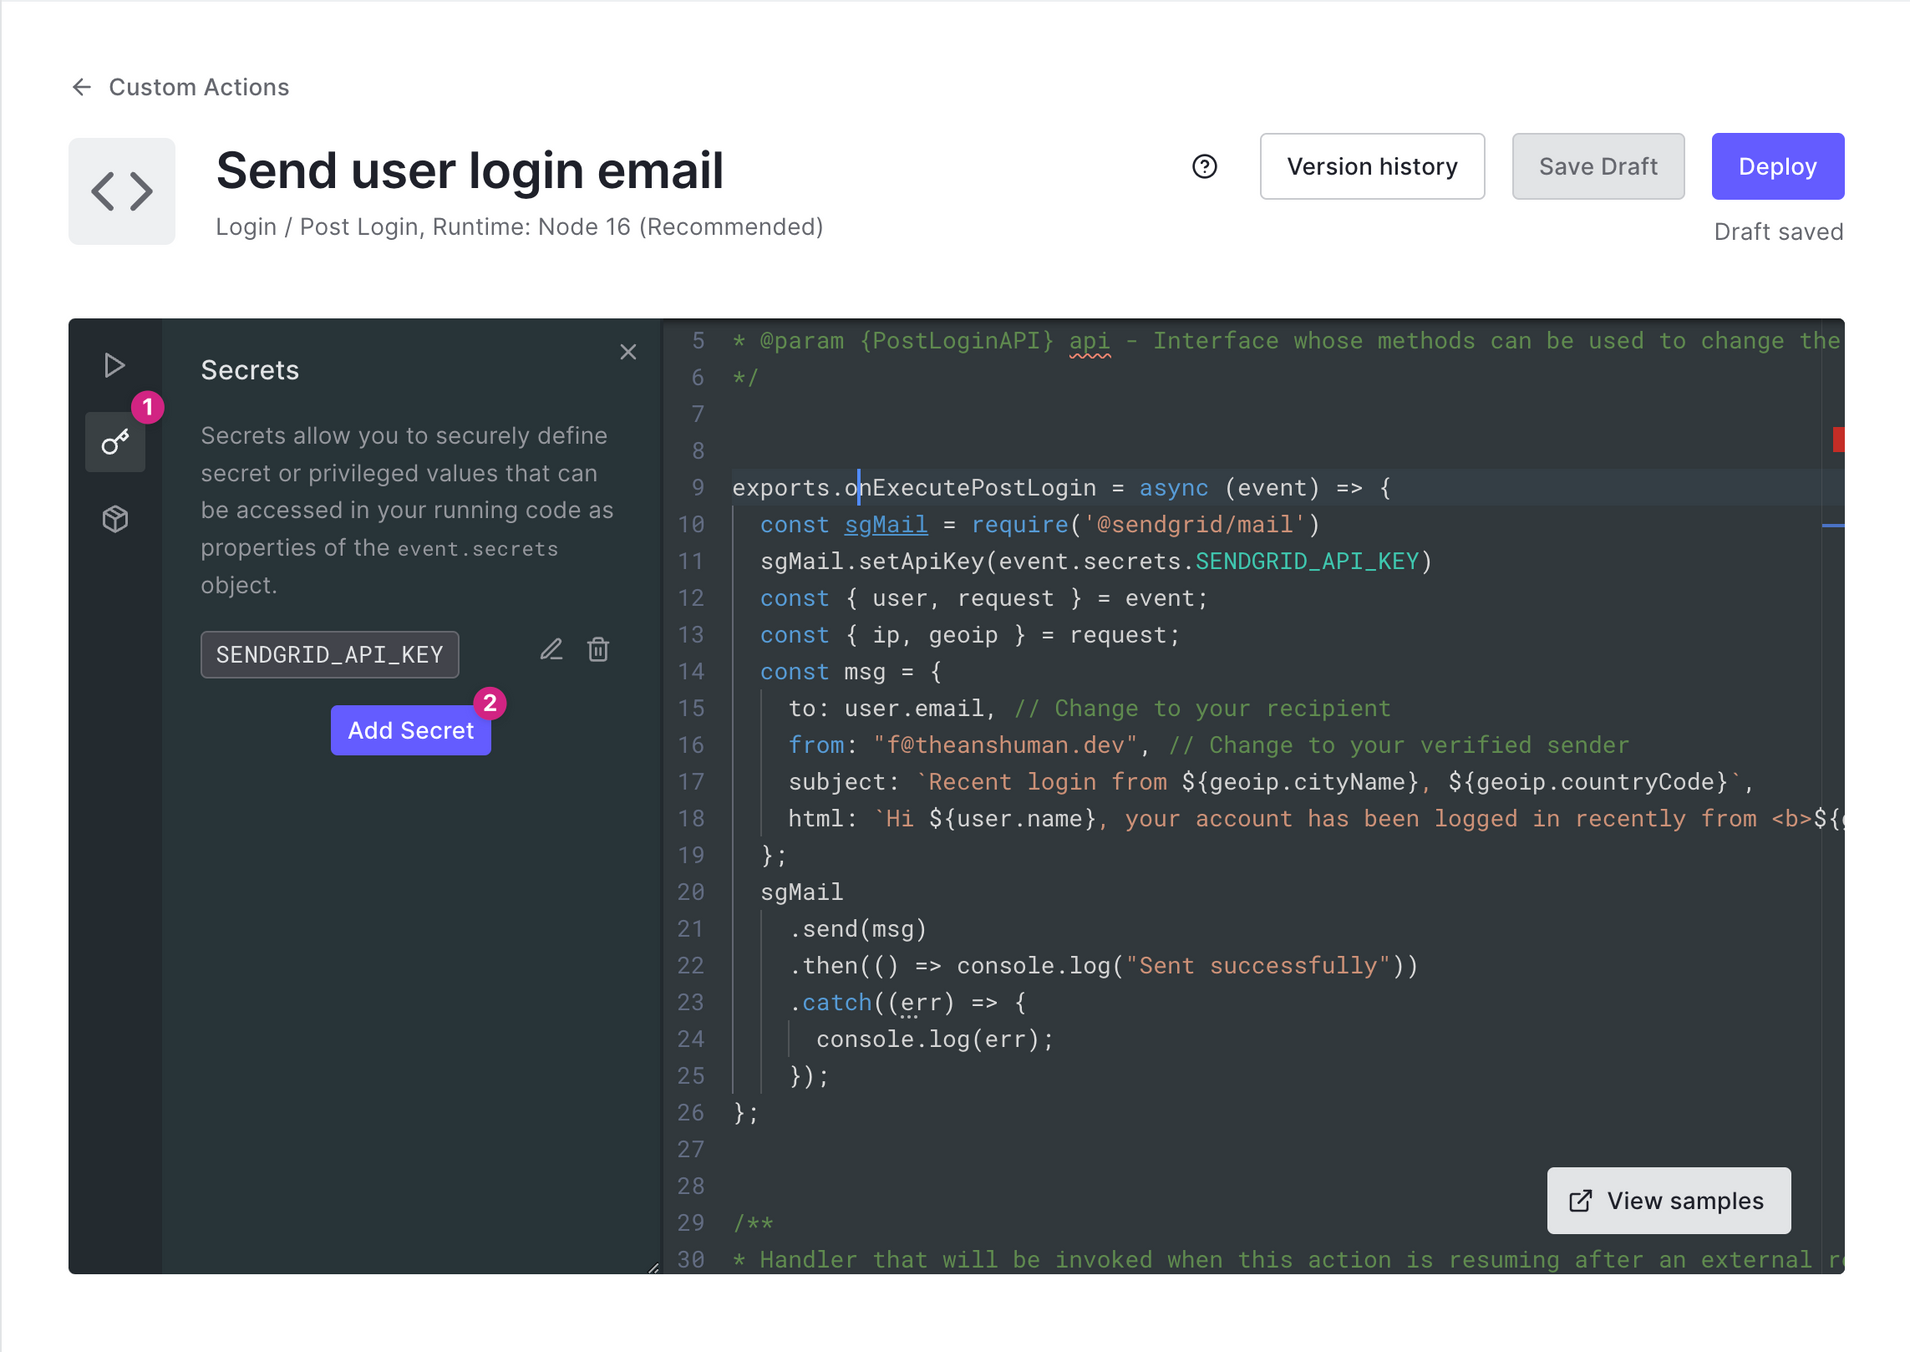
5. Add the `SENDGRID_API_KEY` to the secrets section.
6. Update the `onExecutePostLogin` function in the code editor as below. The `event` object provides the required information such as the stored secrets, email, name, IP address of the device used, and geolocation. You can read more about the `event` object in the [documentation](https://auth0.com/docs/customize/actions/flows-and-triggers/login-flow/event-object).
```jsx
exports.onExecutePostLogin = async (event) => {
const sgMail = require('@sendgrid/mail')
sgMail.setApiKey(event.secrets.SENDGRID_API_KEY)
const { user, request } = event;
const { ip, geoip } = request;
const msg = {
to: user.email, // Change to your recipient
from: "f@theanshuman.dev", // Change to your verified sender
subject: `Recent login from ${geoip.cityName}, ${geoip.countryCode}`,
html: `Hi ${user.name}, your account has been logged in recently from ${geoip.cityName}, ${geoip.countryCode} from IP address ${ip}.`,
};
sgMail
.send(msg)
.then(() => console.log("Sent successfully"))
.catch((err) => {
console.log(err);
});
};
```
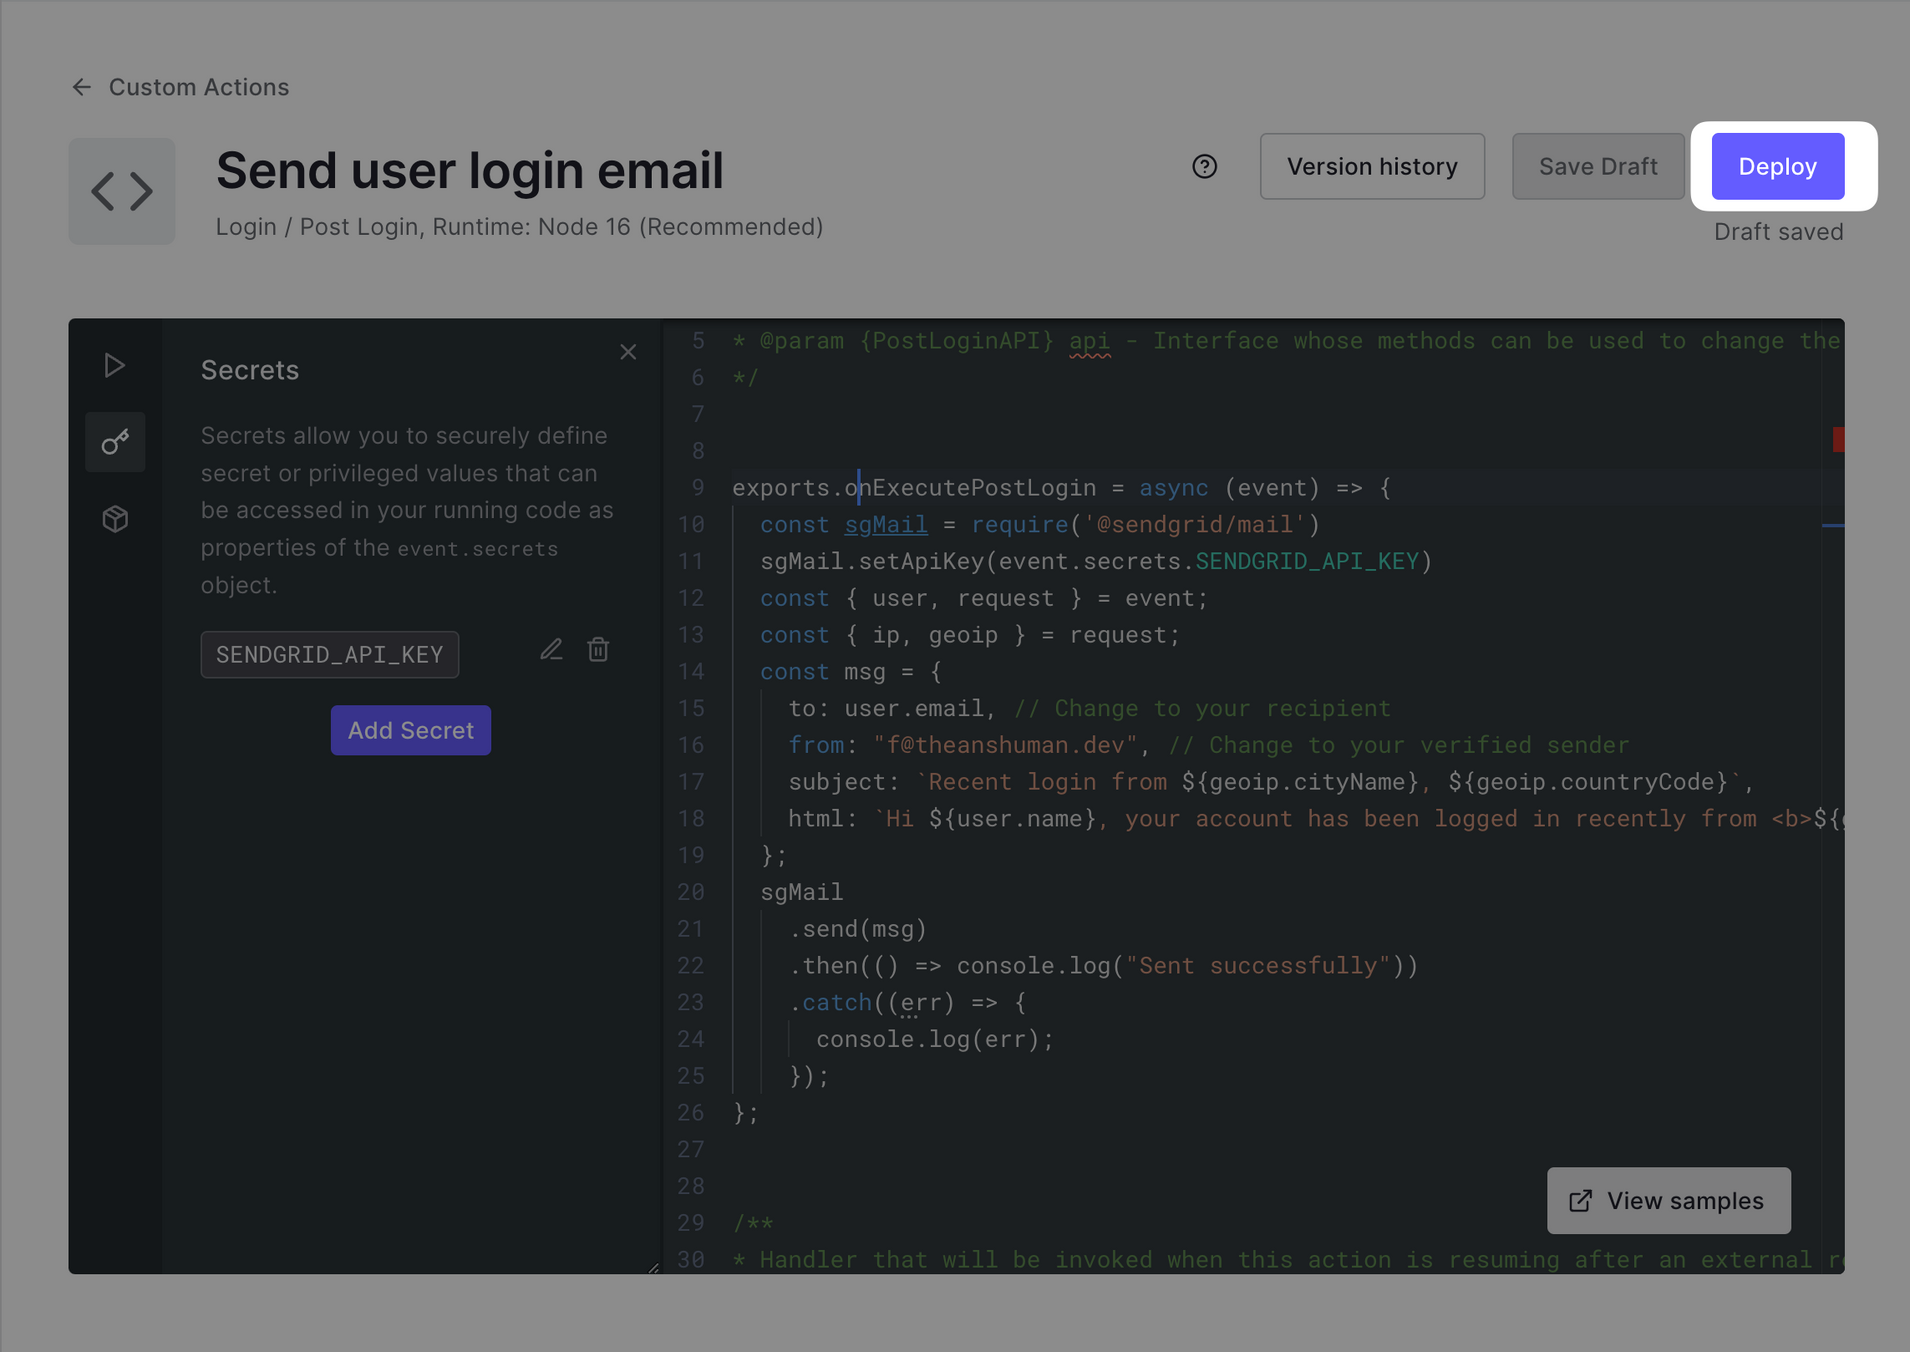
7. Click on the **Deploy** button to activate the action.
8. It's time to test the action. Log into your application
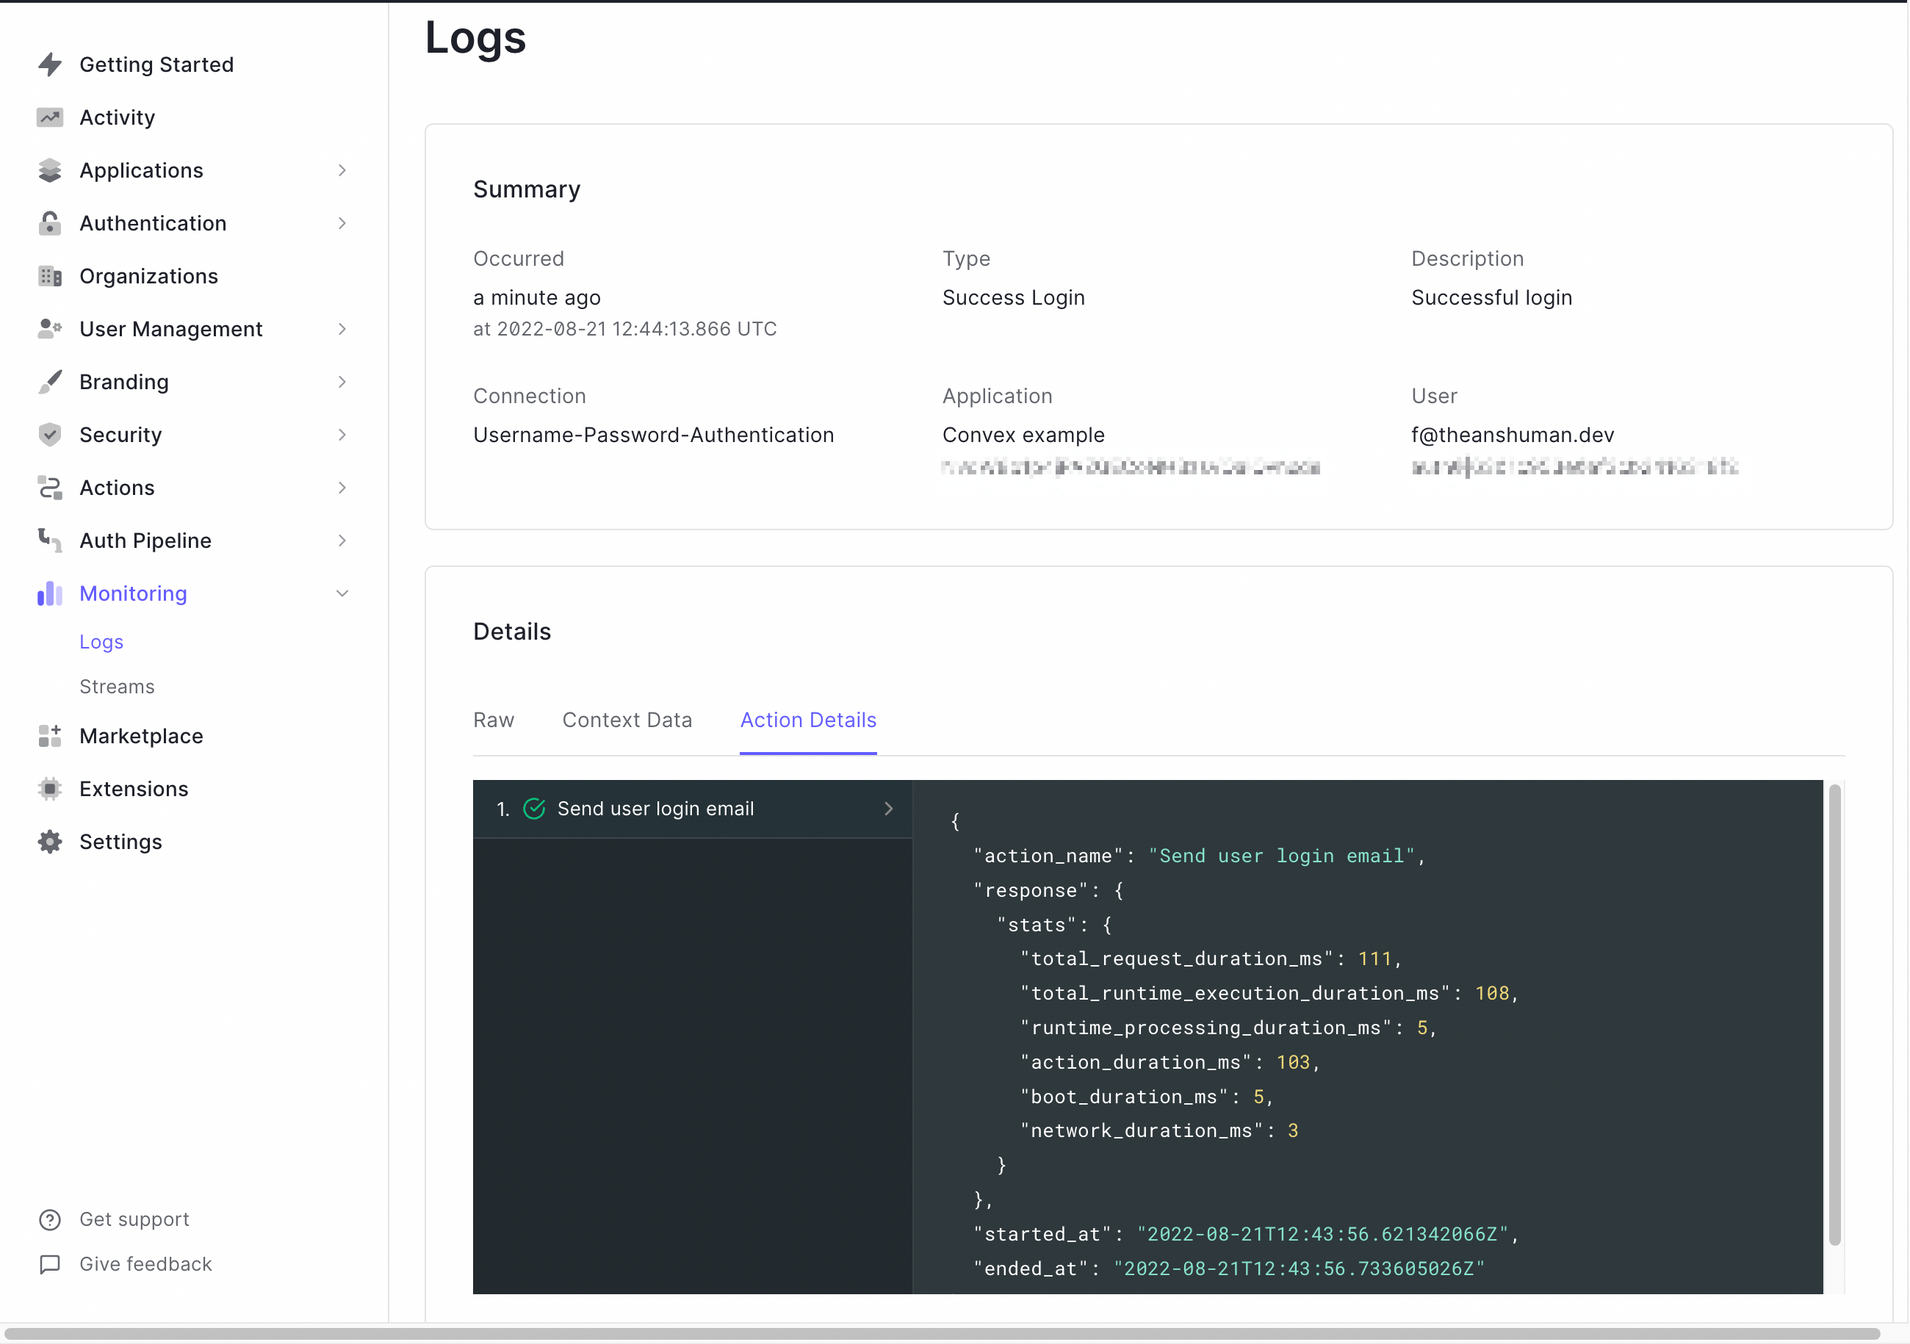
9. Open the **Monitoring > Logs** section inside the Auth0 dashboard to see Actions execution details.
## Conclusion
In this article, you learned about Auth0 Actions and how easily you can create one to send login notifications to your users. Auth0 is a leading authentication and authorization platform that provides developers with features such as social logins, user management, and passwordless logins. You can [sign-up](https://a0.to/signup-for-auth0) for free on Auth0 to try this example or experiment with one of your own.
---
I hope you find this article helpful! Should you have any feedback or questions, you can put them in the comments below. For more such articles, follow me on [Twitter](https://twitter.com/sun_anshuman)
> Until next time